Importing employee info
Updating employee information by hand is for the birds
First, you'll need to prepare the CSV file you'll be importing.
You can either:
- export a csv from your payroll system.
- download a version of our Import Ready CSV and make your updates in that file.
- In the main nav, select "Importer"
- Click the green "Actions" button at the top of the page
- Select "Download Import Ready CSV" from the dropdown menu

Some fields are mandatory
Only 2 fields are mandatory for an upload:
- First Name
- Internal ID
These optional fields can be uploaded as well:
- Average Weekly Hours
- Branch
- Current Wages
- Salaried employees must have their annual salary
- Hourly employees must have their hourly wages
- These values must exist in 1 column
- Current Wages Effective Date
- Current Wages Memo
- Date in Position
- Department
- FT/PT
- Gender (Options: Male, Female, or Non-Binary)
- Hire Date
- Last Name
- Minority Status - here is an article outlining your import options
- Performance Effective Date
- Performance Score
- Performance Score Memo
- Position
- Supervisor ID or Supervisor (Last Name, First Name)
- Variable Pay Actual Dollars
Once you've assembled your excel report with all this information, make sure you save it as a .CSV (Comma Separated Values).
And now it's time to use our amazing import wizard!
- In the main nav, select "Importer"
- Click the green "Actions" button at the top of the page
- Select "Import New CSV" from the dropdown menu

- In the first step, you'll click the green "Add New File" button to select the csv you're uploading
- In the bottom right hand corner, click Next
- In the next step, you'll be matching columns from your csv to the available fields in Balancedcomp.
- The system will do its best to auto-match your columns based on the title at the top of the column in your csv
- If you're unsure about the data that was in your csv, click the "Column Header" and we'll show you the first 3 rows of data in that column:

- All columns must be either matched or skipped before proceeding to the next step. The system will prompt you if you try to click Next before doing so.
- In the next step, you'll be reviewing the changes before applying them.
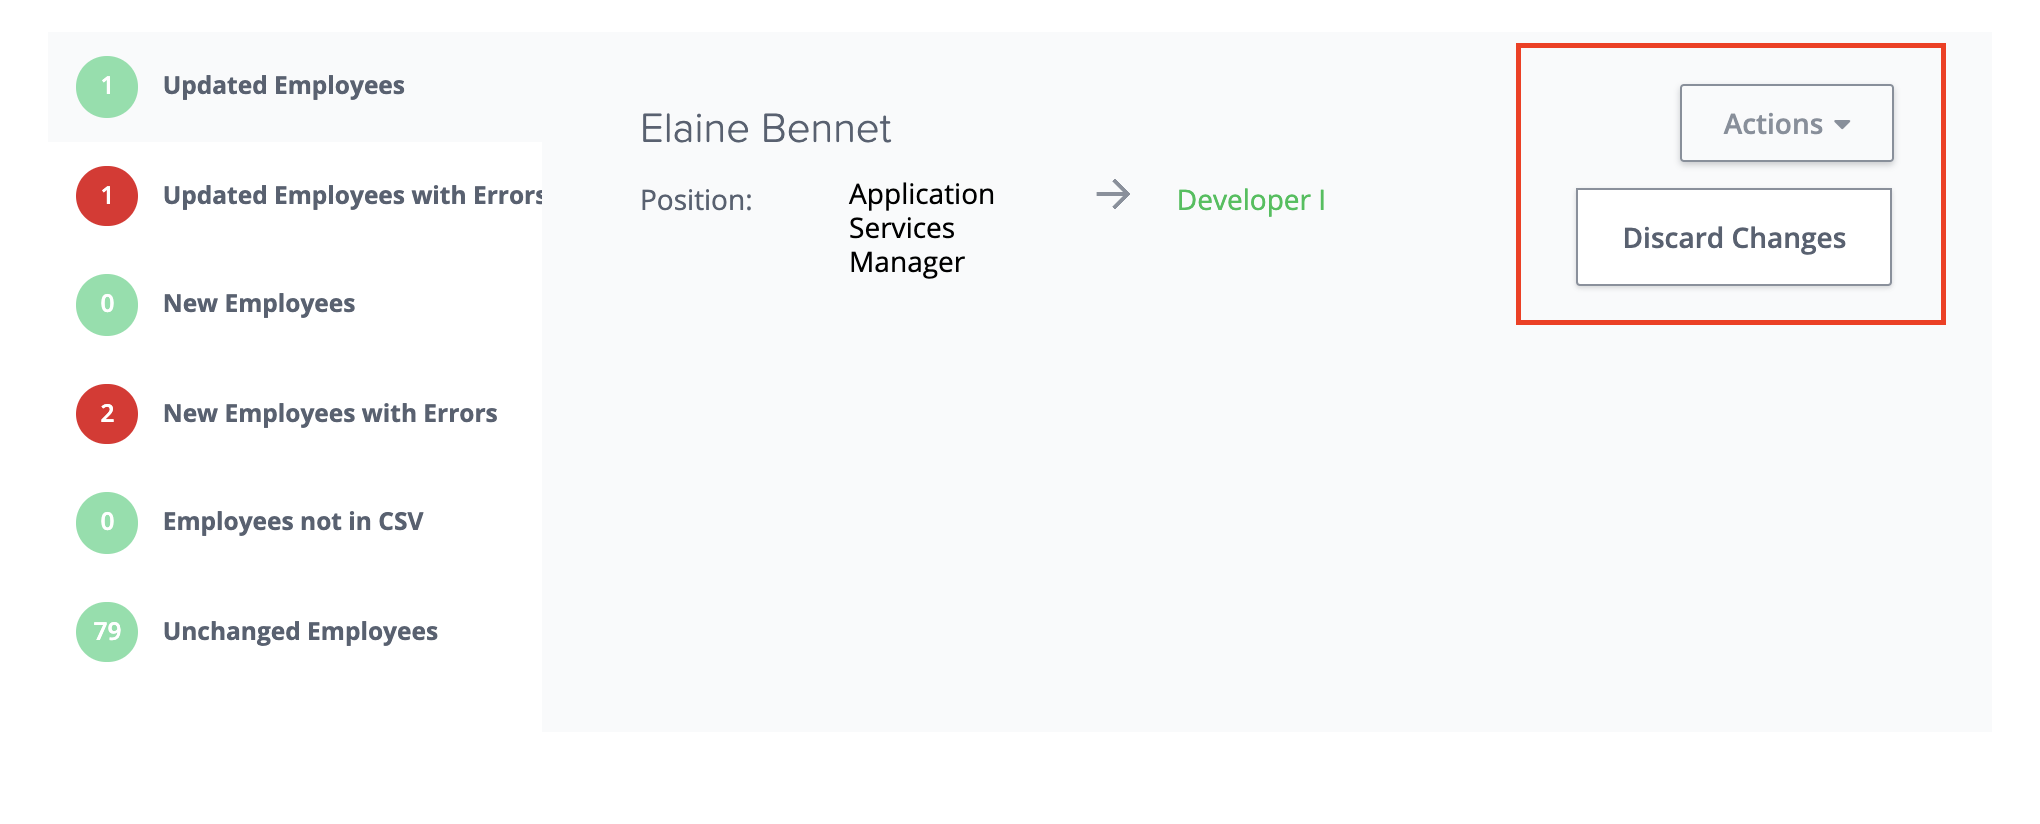
- We've categorized the potential changes down the left-hand side of the screen:
- Updated Employees - if you see updates that you don't want to apply you can discard those changes at this juncture

- Updated Employees with Errors - Errors left here will not be applied. But you can select "Actions" on the right-hand side and resolve those errors at this juncture.
- New Employees - if you see new employees that you don't want to import, you can click "Actions" on the right-hand side and discard the employee.
- New Employees with Errors - Errored employees left here will be imported as partial employees. But you can select "Actions" on the right-hand side and resolve those errors at this juncture.
- Employees not in CSV - These are employees that are in the BalancedComp system but are not in your csv. After applying the import, you may want to consider archiving these employees if they are truly no longer with you.
- Unchanged Employees
- Updated Employees - if you see updates that you don't want to apply you can discard those changes at this juncture
- We've categorized the potential changes down the left-hand side of the screen:
- Once you are done reviewing and editing the changes, you'll click the green "Next" button in the bottom right-hand corner.
- In the last step, you'll simply review the number of employees in each of the previous categories and click the green "Apply" button in the bottom right-hand corner.
Pay special attention to the New Employees number on the last step!
There are a number of small mistakes that can lead to accidentally duplicating all your existing employees. Make sure the number of new employees being imported isn't more than you would expect.